Getting Started
📝 Creating a Wallet
To start using GrantPicks, users need to create a wallet compatible with either the Stellar or NEAR networks. Here’s how to create a wallet for each:
- Choose a Wallet Provider: GrantPicks supports wallets that work with Stellar and NEAR. Some recommended options include:
Stellar Wallets:
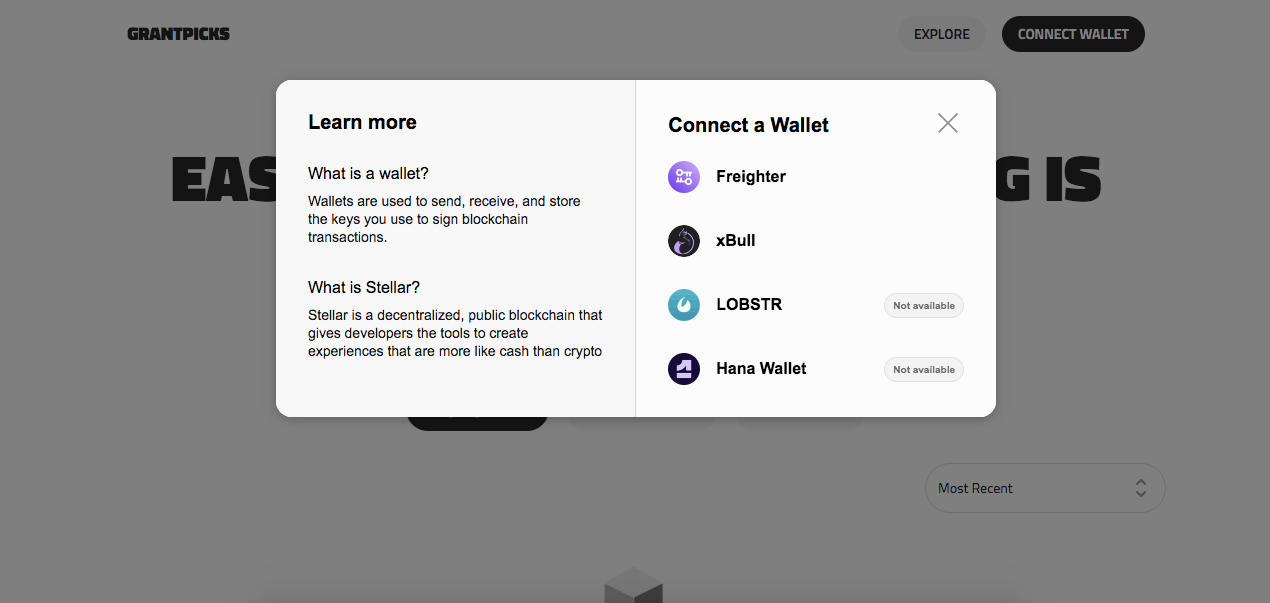
- Freighter: A user-friendly wallet designed for Stellar that allows easy management of assets.
- xBull: A simple and effective wallet for Stellar users, offering basic functionalities.
- LOBSTR: A popular mobile and web wallet for Stellar that provides advanced features and trading options.
- Hana Wallet: A secure wallet for managing Stellar assets with a clean interface.
NEAR Wallet:
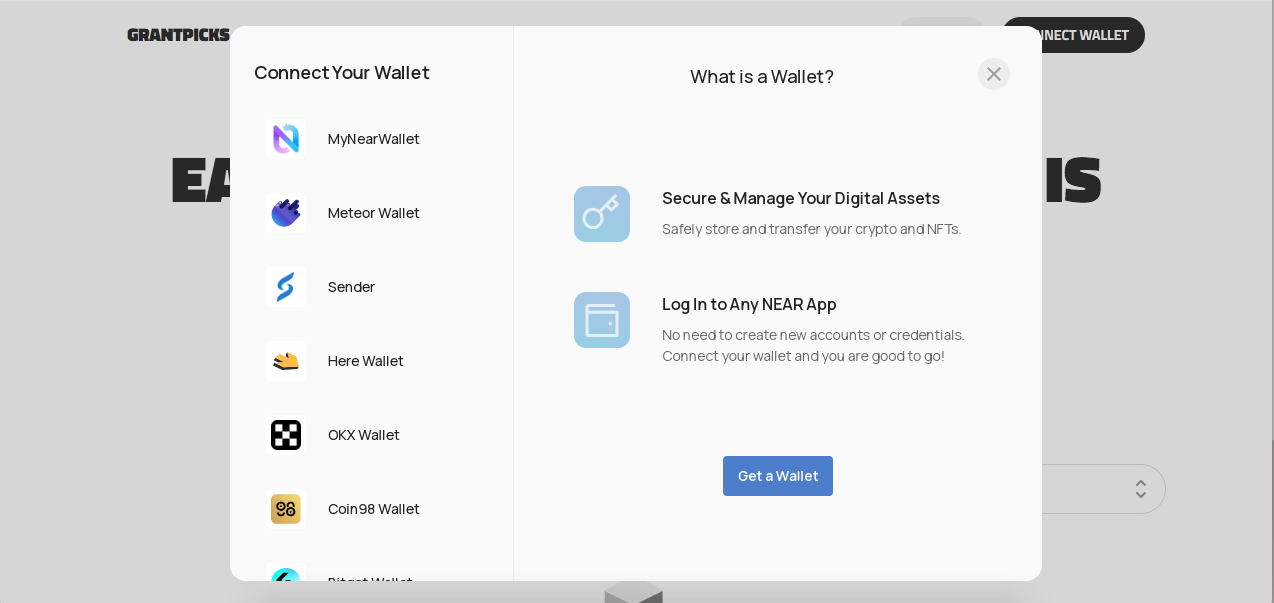
- MyNearWallet: The official wallet for managing NEAR tokens and interacting with dApps.
- Meteor Wallet: A browser-based wallet that allows users to manage their NEAR assets easily.
- Intear Wallet
- Bittie Wallet: A user-friendly wallet for managing NEAR tokens with a focus on simplicity.
- Install the Wallet: Follow the instructions provided by your chosen wallet provider to set up your wallet. Ensure you download it from the official website or app store.
- Set Up Your Wallet: Create a new wallet by following the prompts in the wallet application. This typically involves:
- Setting a strong password.
- Backing up your recovery phrase (seed phrase) in a secure location. This phrase is crucial for recovering your wallet if you lose access.
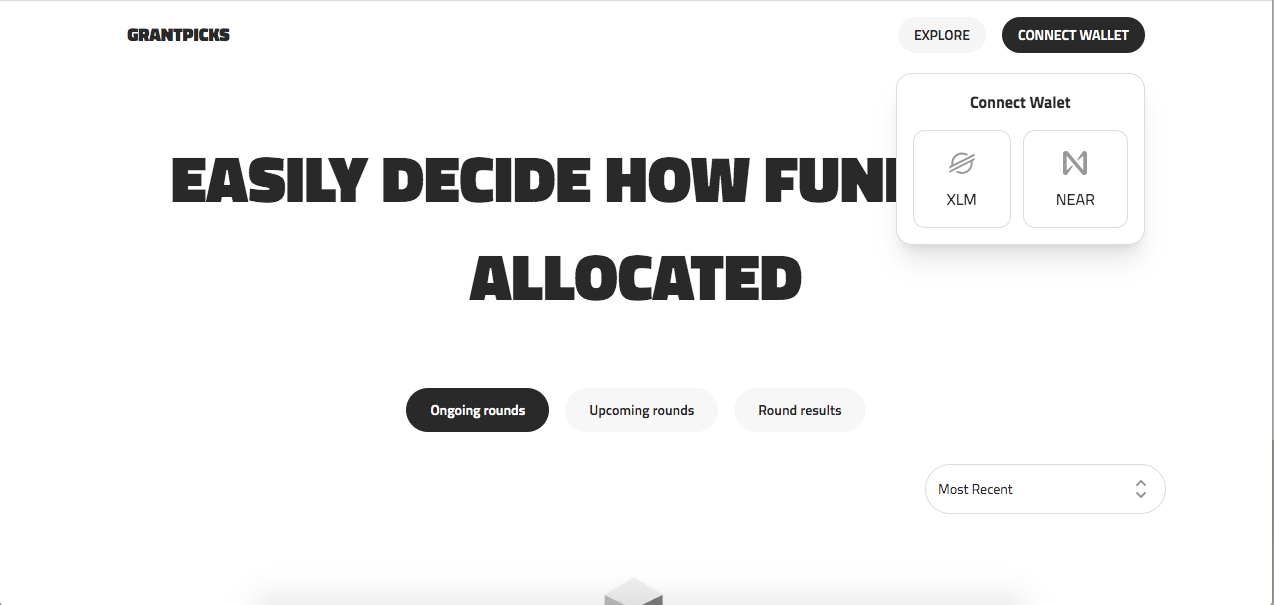
- Connect Your Wallet to GrantPicks: Once your wallet is set up, navigate to the GrantPicks website. Click on the "Connect Wallet" button typically found on the homepage or in the user interface.
- Authorize Connection: A prompt will appear in your wallet asking for permission to connect to GrantPicks. Review the permissions and click "Connect" to authorize.
🗃️ Logging In
After connecting your wallet, logging into GrantPicks is straightforward:
- Visit GrantPicks: Go to the GrantPicks website.
- Connect Your Wallet: Click on the "Connect Wallet" button if you haven’t done so already. Select either your Stellar or NEAR wallet from the list of supported providers.
- Authorize Connection: Your wallet will prompt you to confirm the connection to GrantPicks. Click "Connect" or "Authorize."
- Access Your Dashboard: Once connected, you will automatically be logged into your GrantPicks account using your wallet address. You can now access all features available on the platform, including exploring funding rounds and submitting applications.